One of the 4 main plots in a 4-year crop rotation is legumes, which is the pea family. These plants replace the nitrogen in the soil by using Rhibozium bacteria, which allows them to extract nitrogen from the air. Plants use nitrogen for leaf growth, and because of this, green leafy plants use the most nitrogen. Brassicas are heavy nitrogen feeders, so they will be planted in this legume plot next year due to the high nitrogen levels the soil should have. Nightshades will be the year after and onions & roots the year after that.
The beginner friendly plants that I have chosen for this category are runner beans and peas. Runner beans can be harvested young and sliced to be used as green beans, or left to mature, shelled, to be used as a bean. For peas I personally prefer a variety where you pick them young and can eat the pods too, such as mangetout or sugar snap, as not needing to shell them saves a lot of time, but you grow these peas or garden varieties in the same way, so you decide whether you’d rather shell the peas and eat them as peas, or buy a variety where you can eat the entire thing.
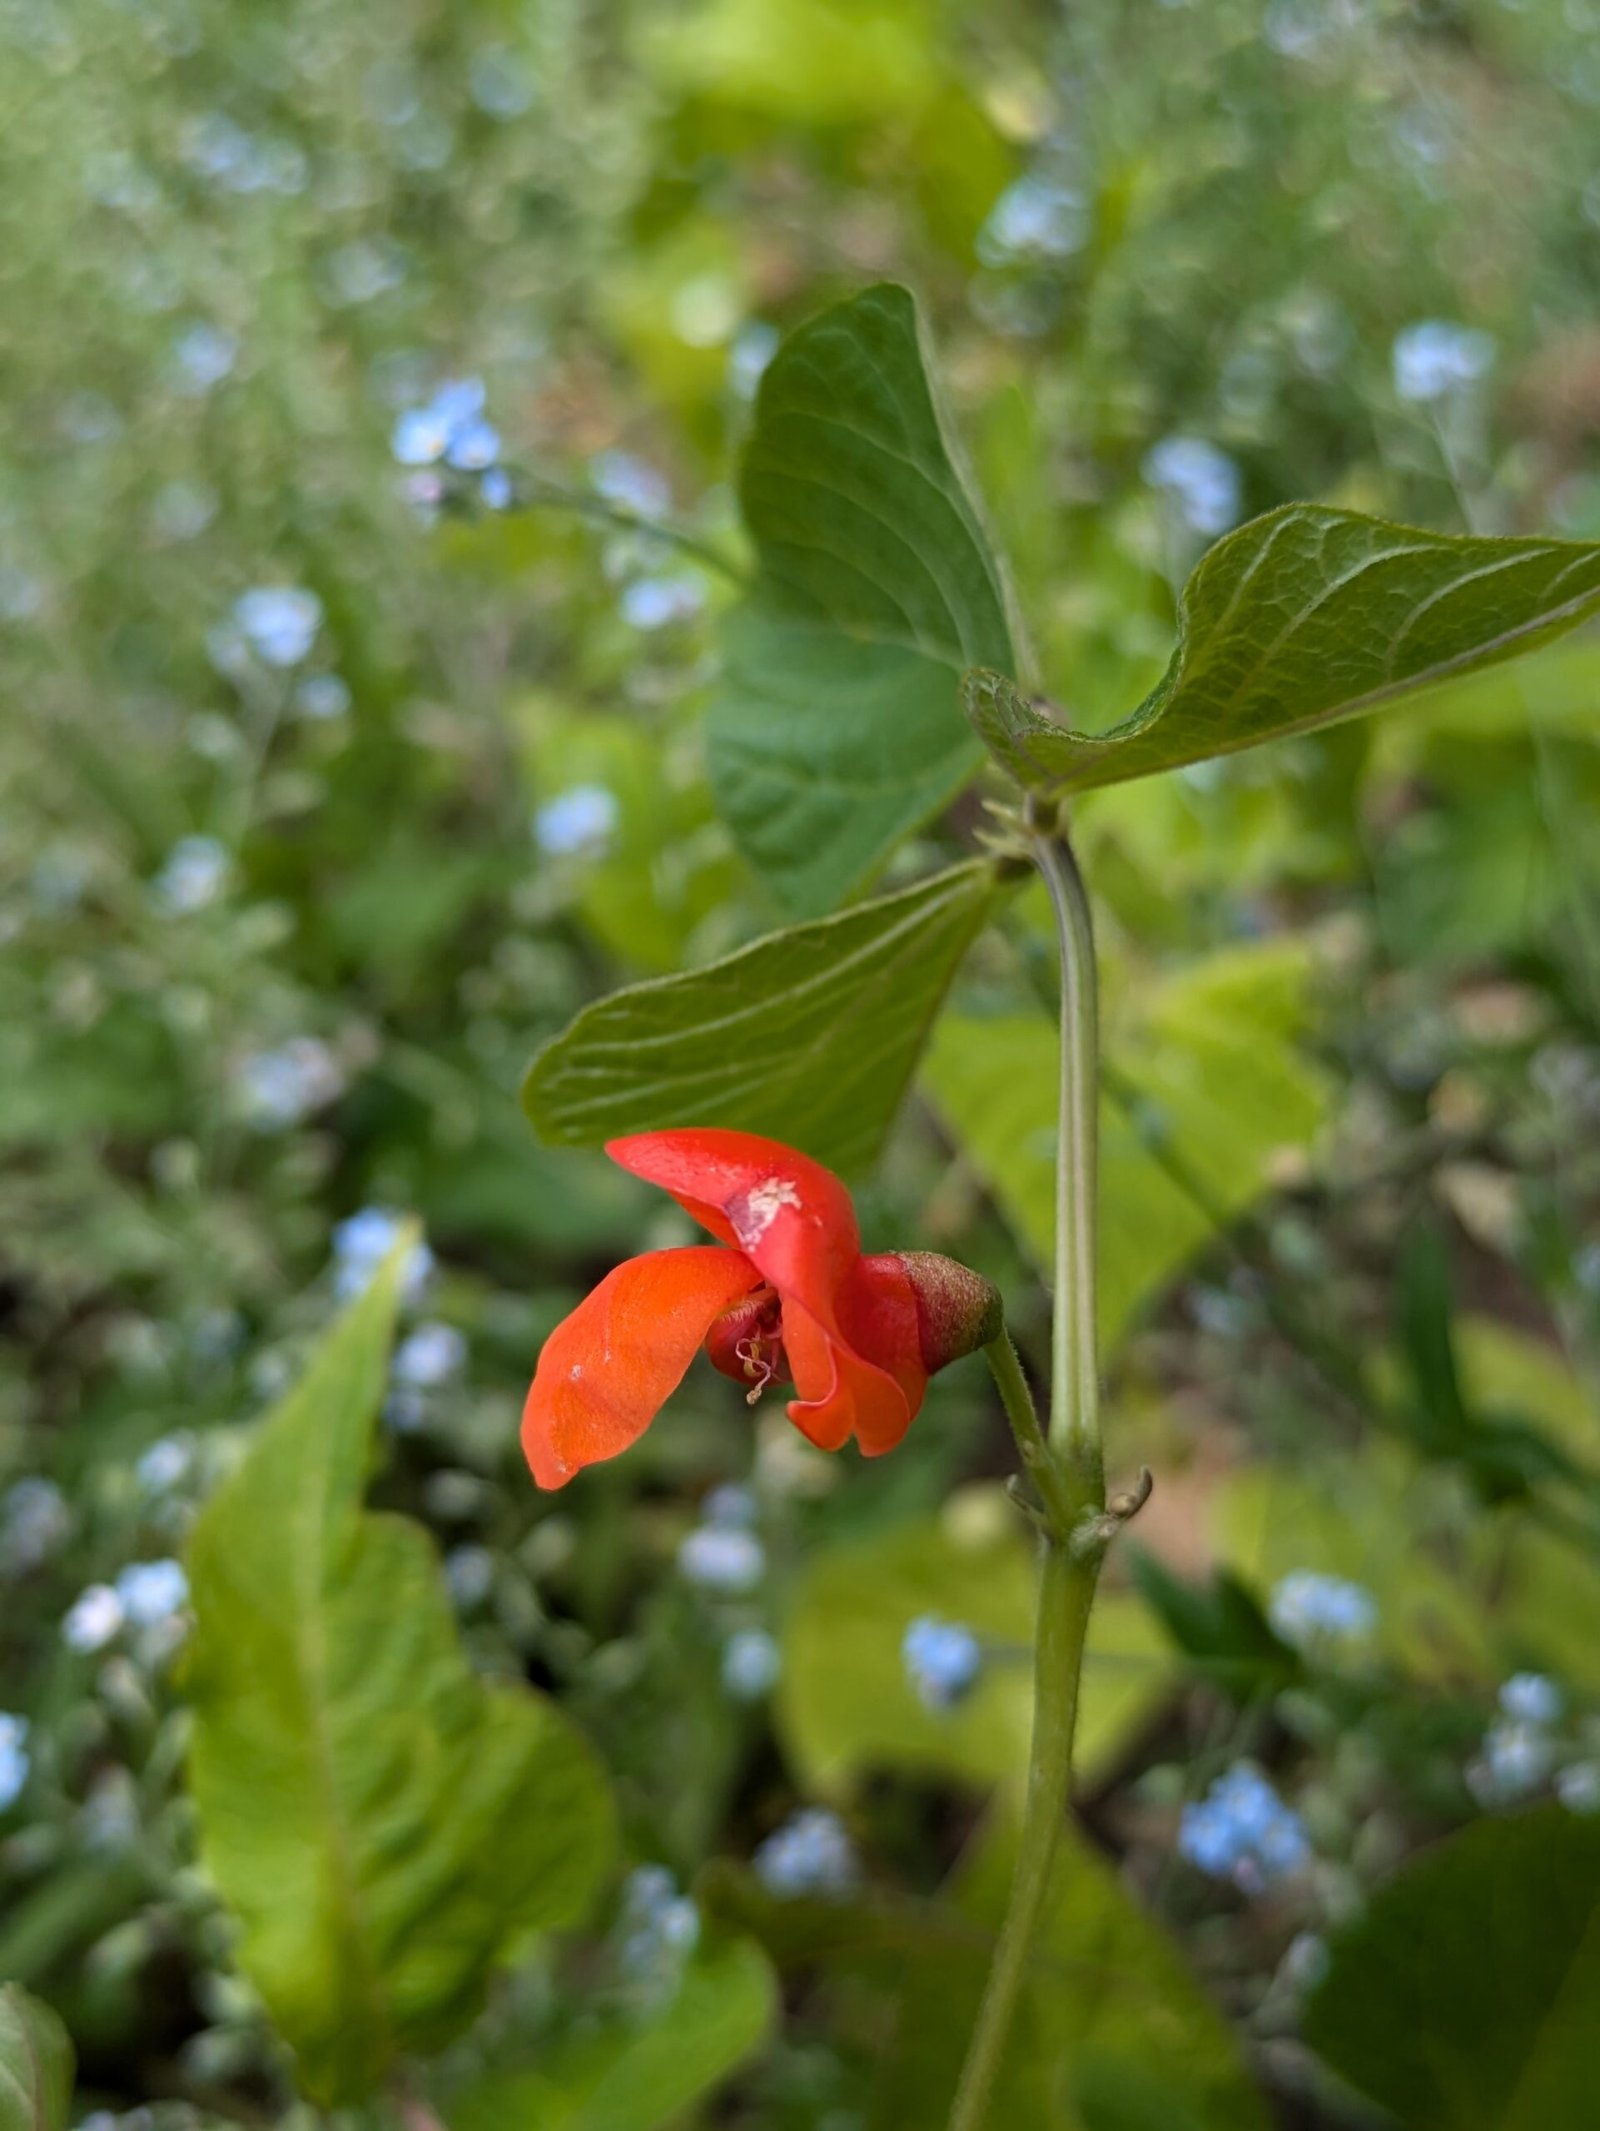
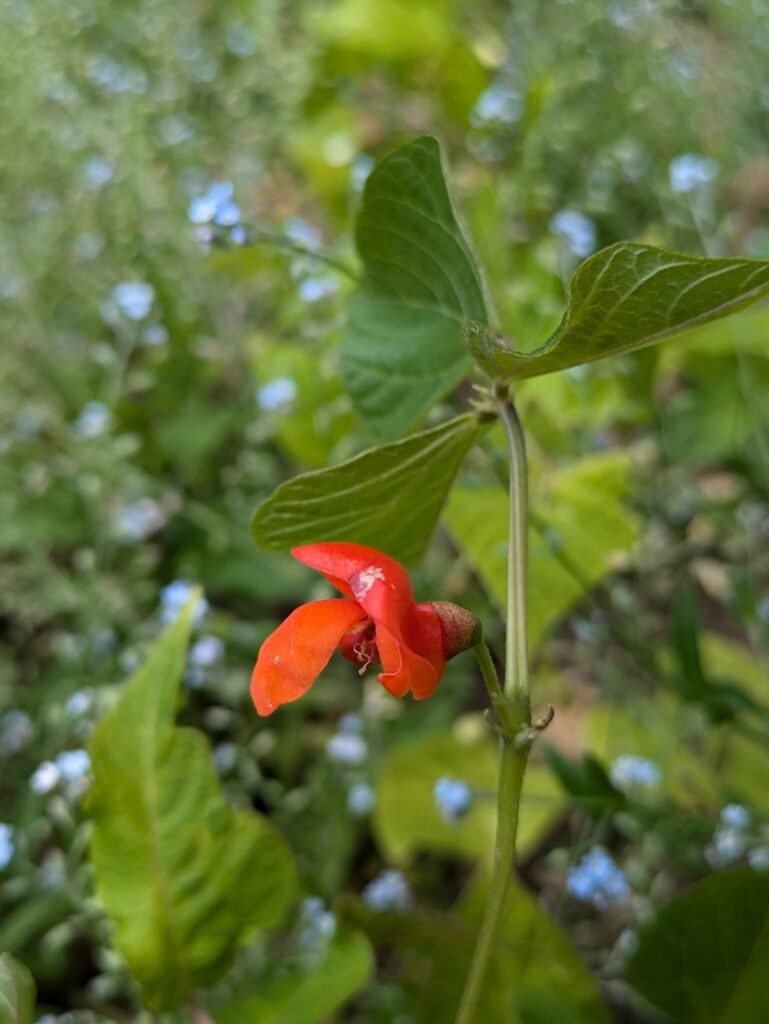
Growing runner beans
When to plant
If you are planting the seeds directly outside, then do so after your last frost as they will not like a frost. If you want to plant them directly outside into their final growing position, but want to start them off earlier, then you can do so under a coldframe or polytunnel, which I talk about here. This can give you a few weeks headstart.
If you are planting the seeds inside in pots or trays, then you can do this a few weeks before your last frost, and then transplant the seedlings out after your risk of frost has gone.
Where to plant
If you are planting the seeds directly outside then sow one or two beans in the ground at the base of each wigwam (explained in the growing section), covered with soil but not too deep. Remove the wigwams, but mark where they are, if you will be covering them with a coldframe.
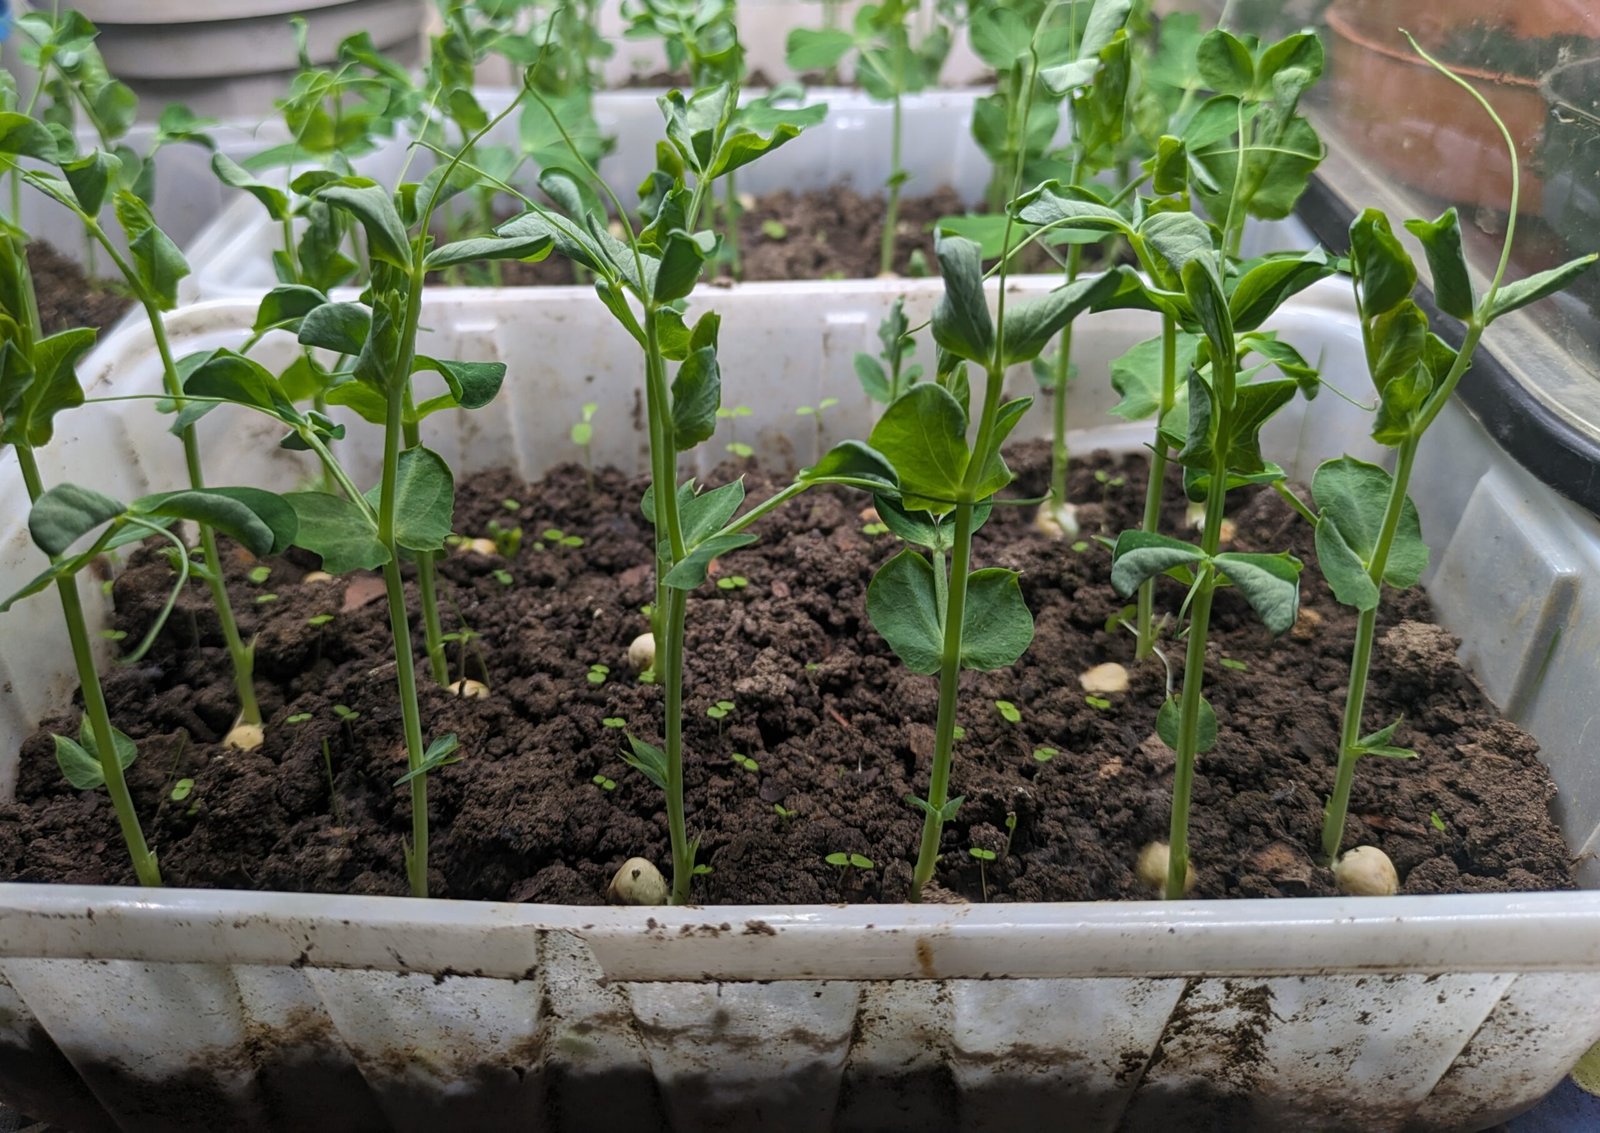
If you are planting the seeds inside, then plant them in trays or individual pots. I like to use old mushroom trays, the big white/transparent ones. You can see them in the pea picture later in this post. Fill your container with soil, compost, or a mix of the two, and half bury the runner beans, up to the white bit halfway down the long side of the bean. One bean per module in a 12-module tray, 1-2 in the small individual pots, and if you use the large mushroom tray, I manage to fit 3 rows of 5 beans in each tray (you can use a similar spacing if you have other sized trays). Transplant seedlings out after risk of frost has passed, being careful to minimise root disturbance.
Growing
Runner beans will want growing supports as they are climbing plants. You can use an existing wire fence, although it can be time consuming getting the plant off at the end of the season.
Alternatively you can use wigwams. These are usually set up in an obelisk shape. You can either use bamboo canes or branches from pruned trees, at least 6 feet in length (1.8 metres). Form a circle around the base with the sticks around 6 inches apart, using between 5 and 8 canes. Angle the canes towards each other near the top, so that they cross over each other and you can tie string or twine around them to keep them together. You’ll plant the beans at the base of each cane and they will grow up them.
If plants are outside in the ground, water during dry spells, but otherwise they should be fine. If they are under cover or in a pot or raised bed, then you may need to water more frequently. You can check how dry the soil is by poking your finger a couple of inches below the surface, being careful not to damage the roots.
Harvesting
Runner beans should be ready to pick from around July onwards. You ideally want to pick them young and use them as green beans rather than shelling them, and this way you can get continual harvests up until autumn. Pick them when the beans are still small and you can’t really feel or see them within the pods. If you are eating as green beans, then cut the top and bottom off the bean and cut the bean at an angle multiple times, so that you have a few pieces, and then cook them by steaming, boiling or frying.
If you want fully grown beans, either for saving to plant next year, or to eat, then leave the pods on the plant until the beans have swollen up and you can fully see and feel the outline of the beans in the pods. If it’s your first time, pick one you think is ready and open it up (you can pop it at the top or bottom and then peel down the side) and see how mature the bean is. It will be more pink than the ones you planted, but that colour will soon go.
Growing peas
When to plant
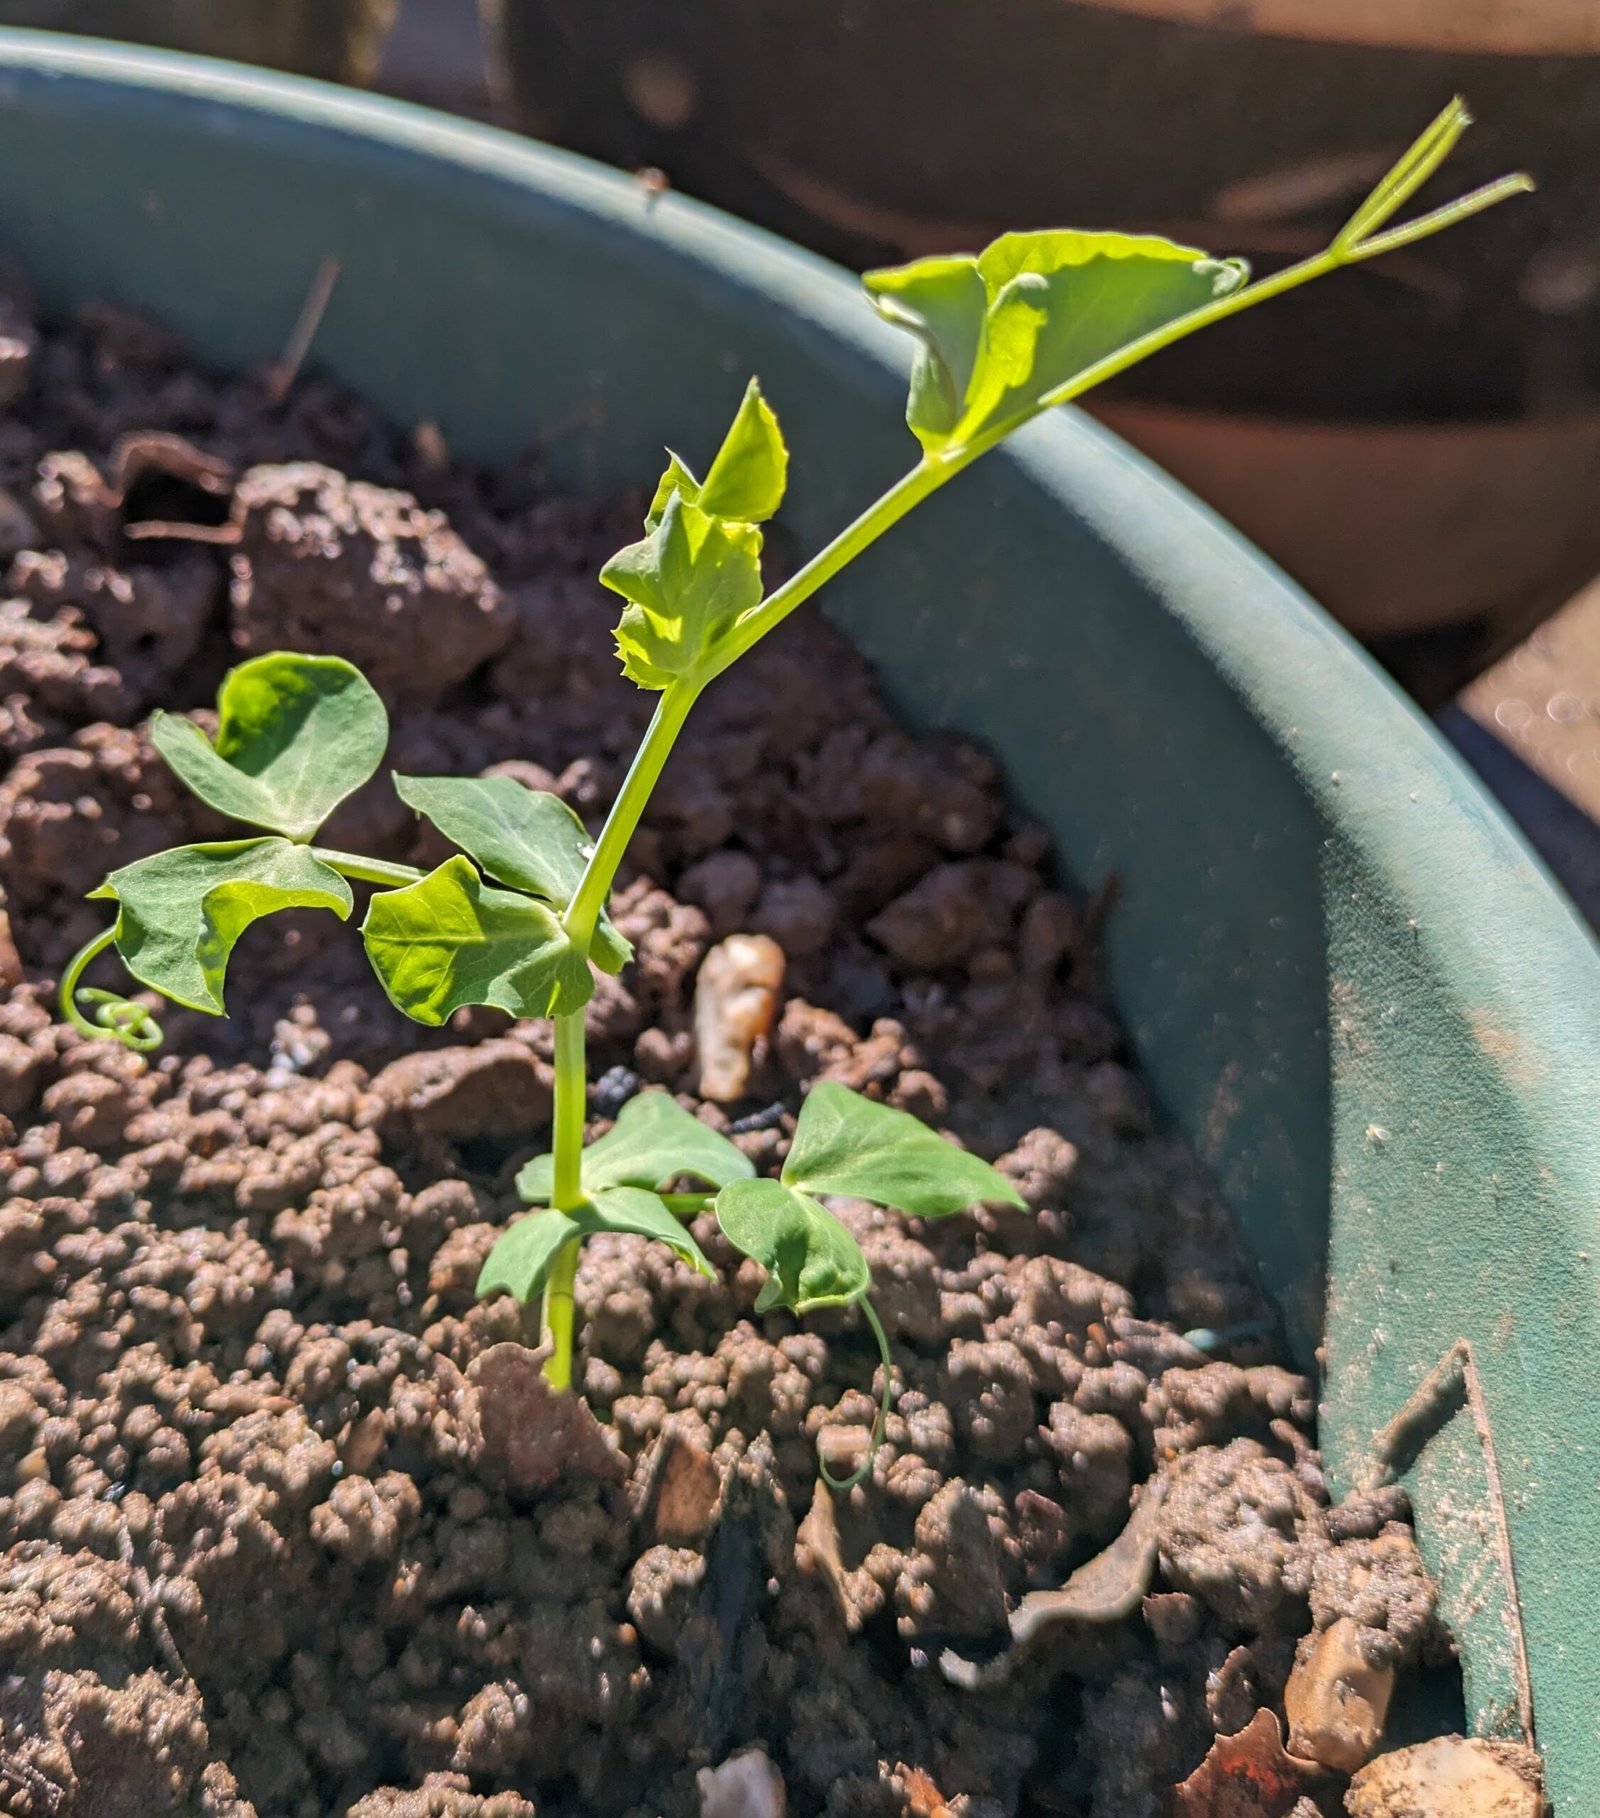
Peas can be planted inside or outside in spring, as early as March. They like the cool weather and tolerate frosts, but will want around 10°C to germinate. You can soak peas for a few hours to overnight before planting to help germination.
Where to plant
If you are planting them directly outside into their final growing position, then sow the peas 2 inches deep in rows about 3 inches apart. Space the rows 1ft apart.
Planting distance doesn’t need to be exact, it’s just a rough distance to aim for. I personally find it easier working in inches and feet, as my shoes are about 1ft in length, so i can estimate quickly.
If you are planting them inside then plant them in trays or individual pots. I like to use old mushroom trays, the big white/transparent ones, which you can see in the picture below. Fill your container with soil, compost, or a mix of the two, and half bury the peas halfway into the soil. One pea per module in a 12-module tray, 2-3 in the small individual pots, and if you use the large mushroom tray, either 15 or 18 peas, with 3 rows of 5-6 peas in each tray (you can use a similar spacing if you have other sized trays). Transplant seedlings out after a couple of weeks, being careful to minimise root disturbance.
Growing
Dwarf pea varieties don’t need growing support, but some pea varieties do. Some varieties don’t need it, but will benefit from growing support. You can place chicken wire between the rows, or short bamboo canes or sticks pruned from trees.
If you are growing them outside in the ground, water during dry spells, but otherwise they should be fine. If they are under cover or in a pot or raised bed, then you may need to water more frequently. You can check how dry the soil is by poking your finger a couple of inches below the surface, being careful not to damage the roots.
Harvesting
You can start harvesting peas from about 12 weeks after planting, from around June, and can continue regular picking until October. Regular picking encourages more pods to form.
Harvest shelling/garden varieties when the pods are filled. If you are growing sugar snap or mangetout (where you can eat the entire pod) pick the pods when they are starting to develop and around 3 inches long.
Growing broad beans
When to plant
If you want a summer harvest, then broad beans can be planted early on in the growing season, as early as February if planting inside or protected outside. Plant in March or April if planting outside unprotected.
Plant seedlings outside in March or April, after hardening off.
Where to plant
If you are planting them directly outside into their final growing position, then sow the peas 2 inches deep in rows about 6 inches apart, with an 18 inches between rows. Planting distance doesn’t need to be exact, it’s just a rough distance to aim for.
If you are planting them inside then plant them in trays or individual pots. I like to use old mushroom trays, the big white/transparent ones, which you can see in the picture in the pea section of this post. Fill your container with soil, compost, or a mix of the two, and half bury the beans halfway into the soil. One pea per module in a 12-module tray, 2 in the small individual pots, and if you use the large mushroom tray, 15 beans, with 3 rows of 5-6 beans in each tray (you can use a similar spacing if you have other sized trays). Transplant seedlings out after a few weeks, being careful to minimise root disturbance.
Growing
Dwarf broad bean varieties don’t need growing support, but some other varieties do. Some varieties don’t need it, but will benefit from growing support. You can place chicken wire between the rows, or short bamboo canes or sticks pruned from trees.
If growing outside in the ground, water during dry spells, but otherwise they should be fine. If they are under cover or in a pot or raised bed, then you may need to water more frequently. You can check how dry the soil is by poking your finger a couple of inches below the surface, being careful not to damage the roots.
Harvesting
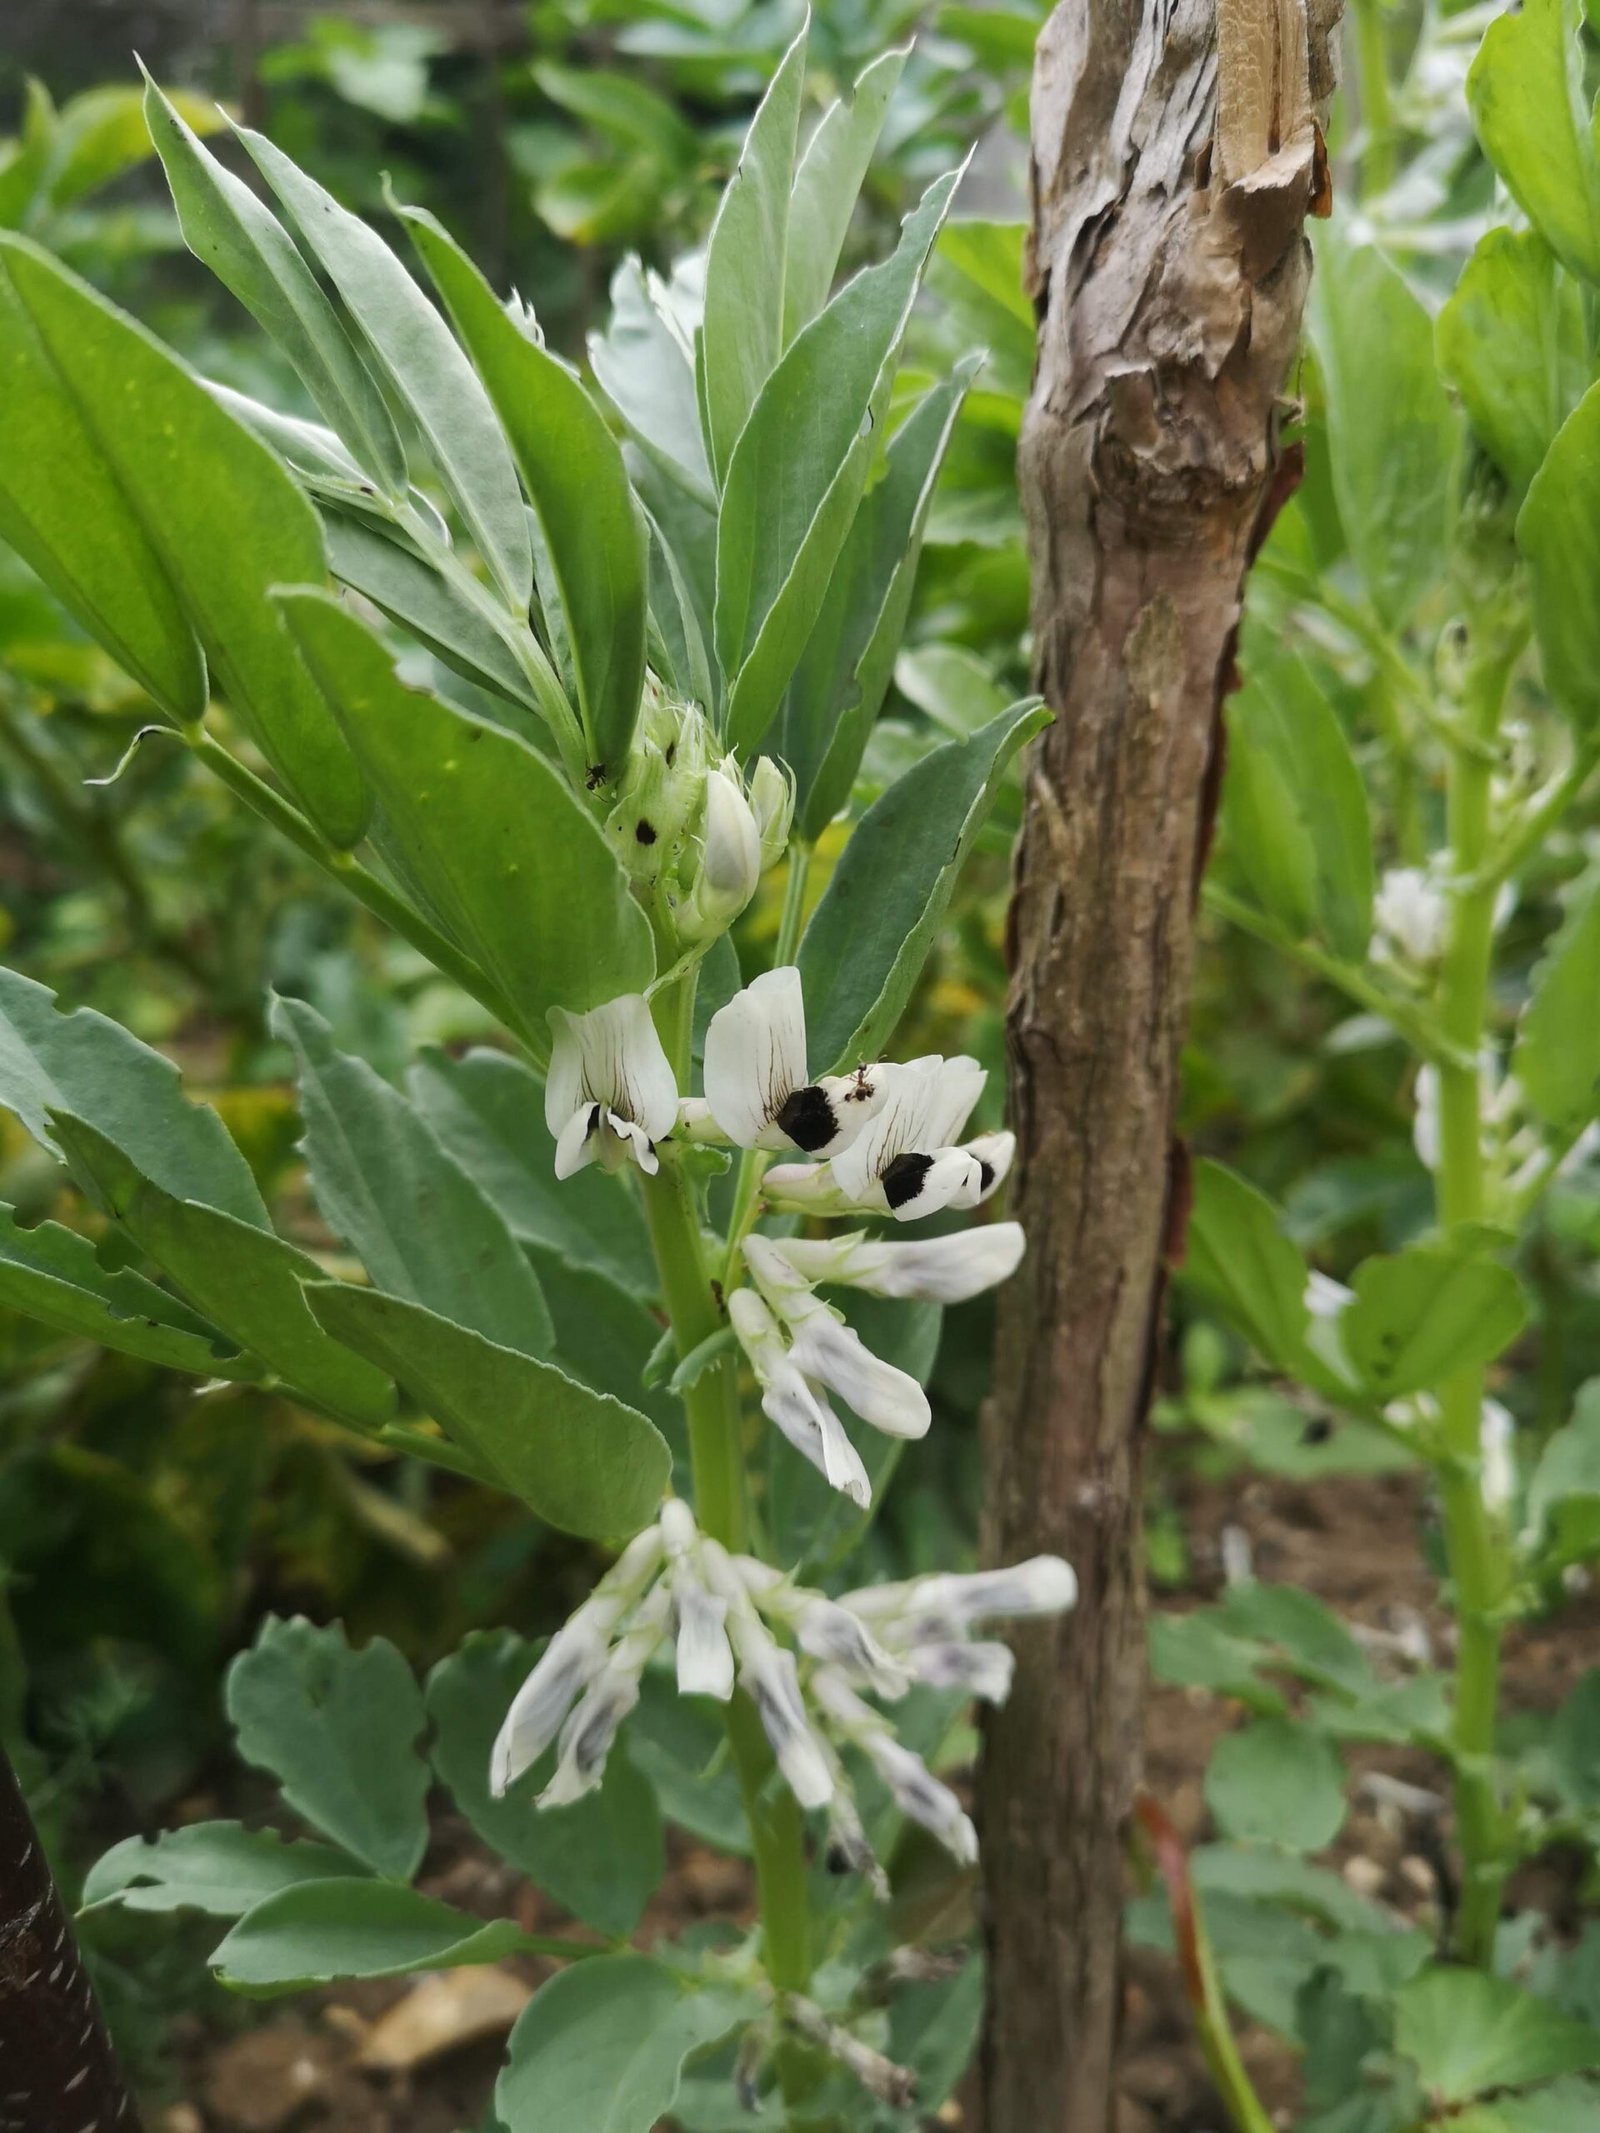
They can be ready to harvest from May onwards, depending on the variety and when you planted the seeds. Regular picking encourages more pods to form. Pods lower down the plant should mature first.
If you want to harvest the entire pod, then pick the beans when they are young and about 3 inches long, cooking them whole.
If you want to harvest them as beans and shell them, they still want to be fairly small and young, but a bit bigger. The ‘scar’ on the pod should still be either white or green. Once that turns black, the beans will be tougher.
I am proud to be affiliated with JustSeed, a company that I have bought seeds from for a few years now. I believe in what they are doing over there, and if you are going to buy seeds, garden tools, or seedlings, then please consider checking them out and using my link below to do so. Thank you for supporting me.



Leave a Reply